Archive
Turret targeting study
Two approaches to turrets whose joints work together to aim at a target, made to deepen my understanding of C#, rotations and Unity's visual debugging tools.
- Tech
- Unity, C#
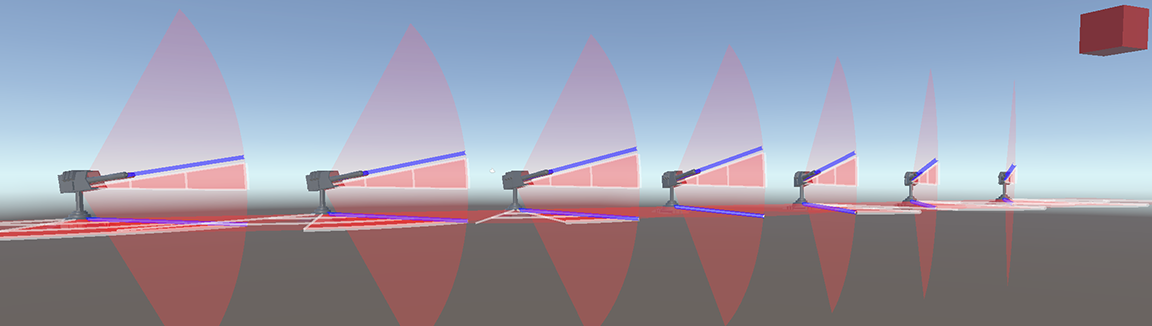
Approach 1: the all-in-one turret
The turret has three separate parts: base, neck and top. It finds a GameObject tagged as a target, or falls back to a default position.
- Aiming. Each update checks whether the target is in range, then uses
Vector3.SignedAngleto work out the base and top rotations. - Limits.
LimitRotationclamps rotations to predefined limits, and an override picks the most efficient direction when a limit is reached. - Validation. Angle checks handle rotation changes and avoid sudden jumps in orientation.
- Debugging. Gizmos in the editor show aiming direction and rotations.
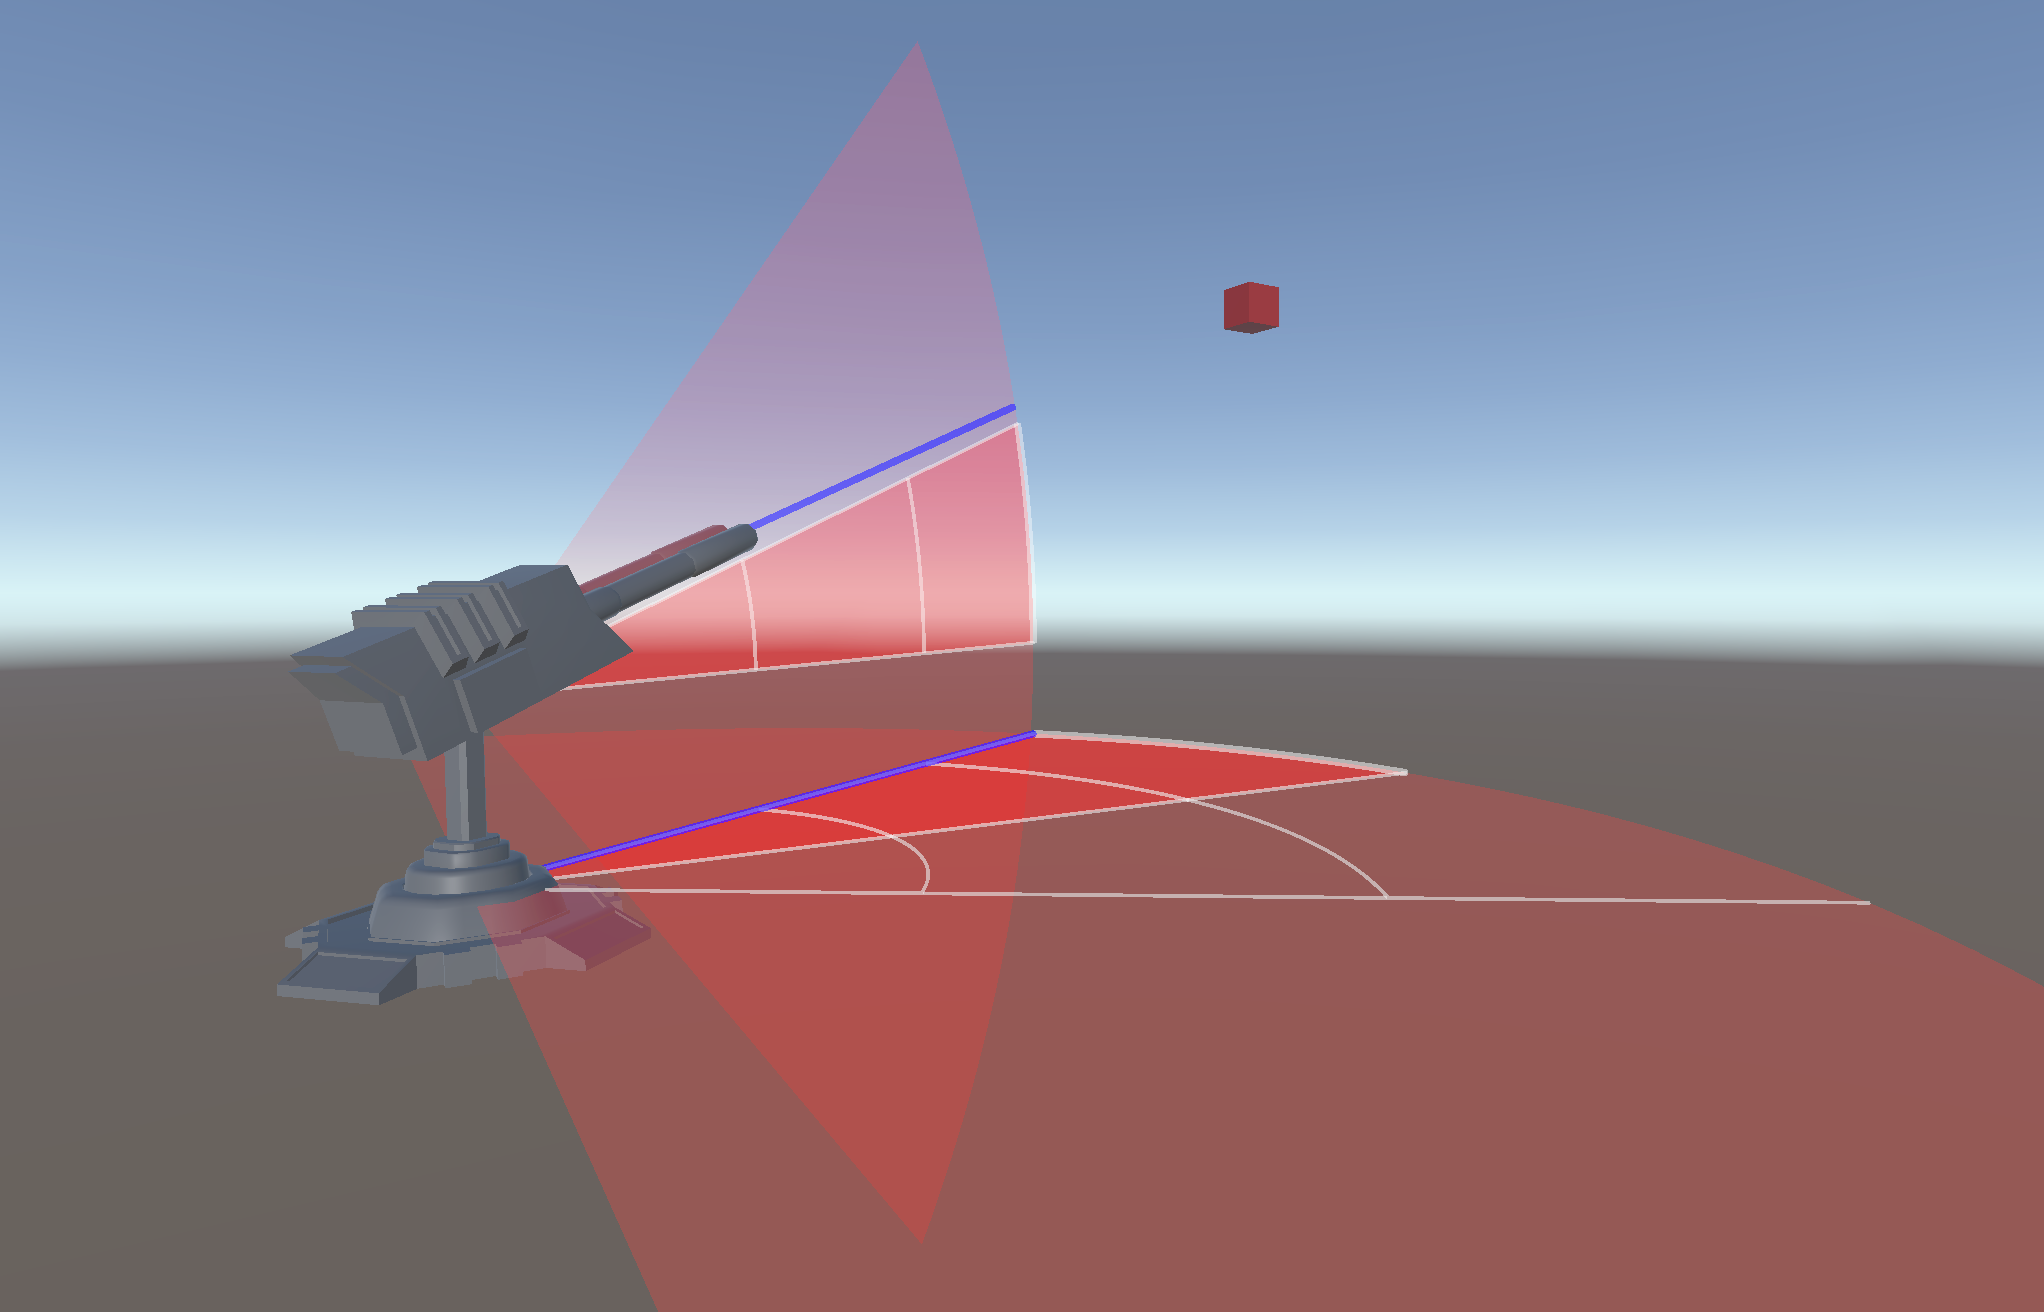
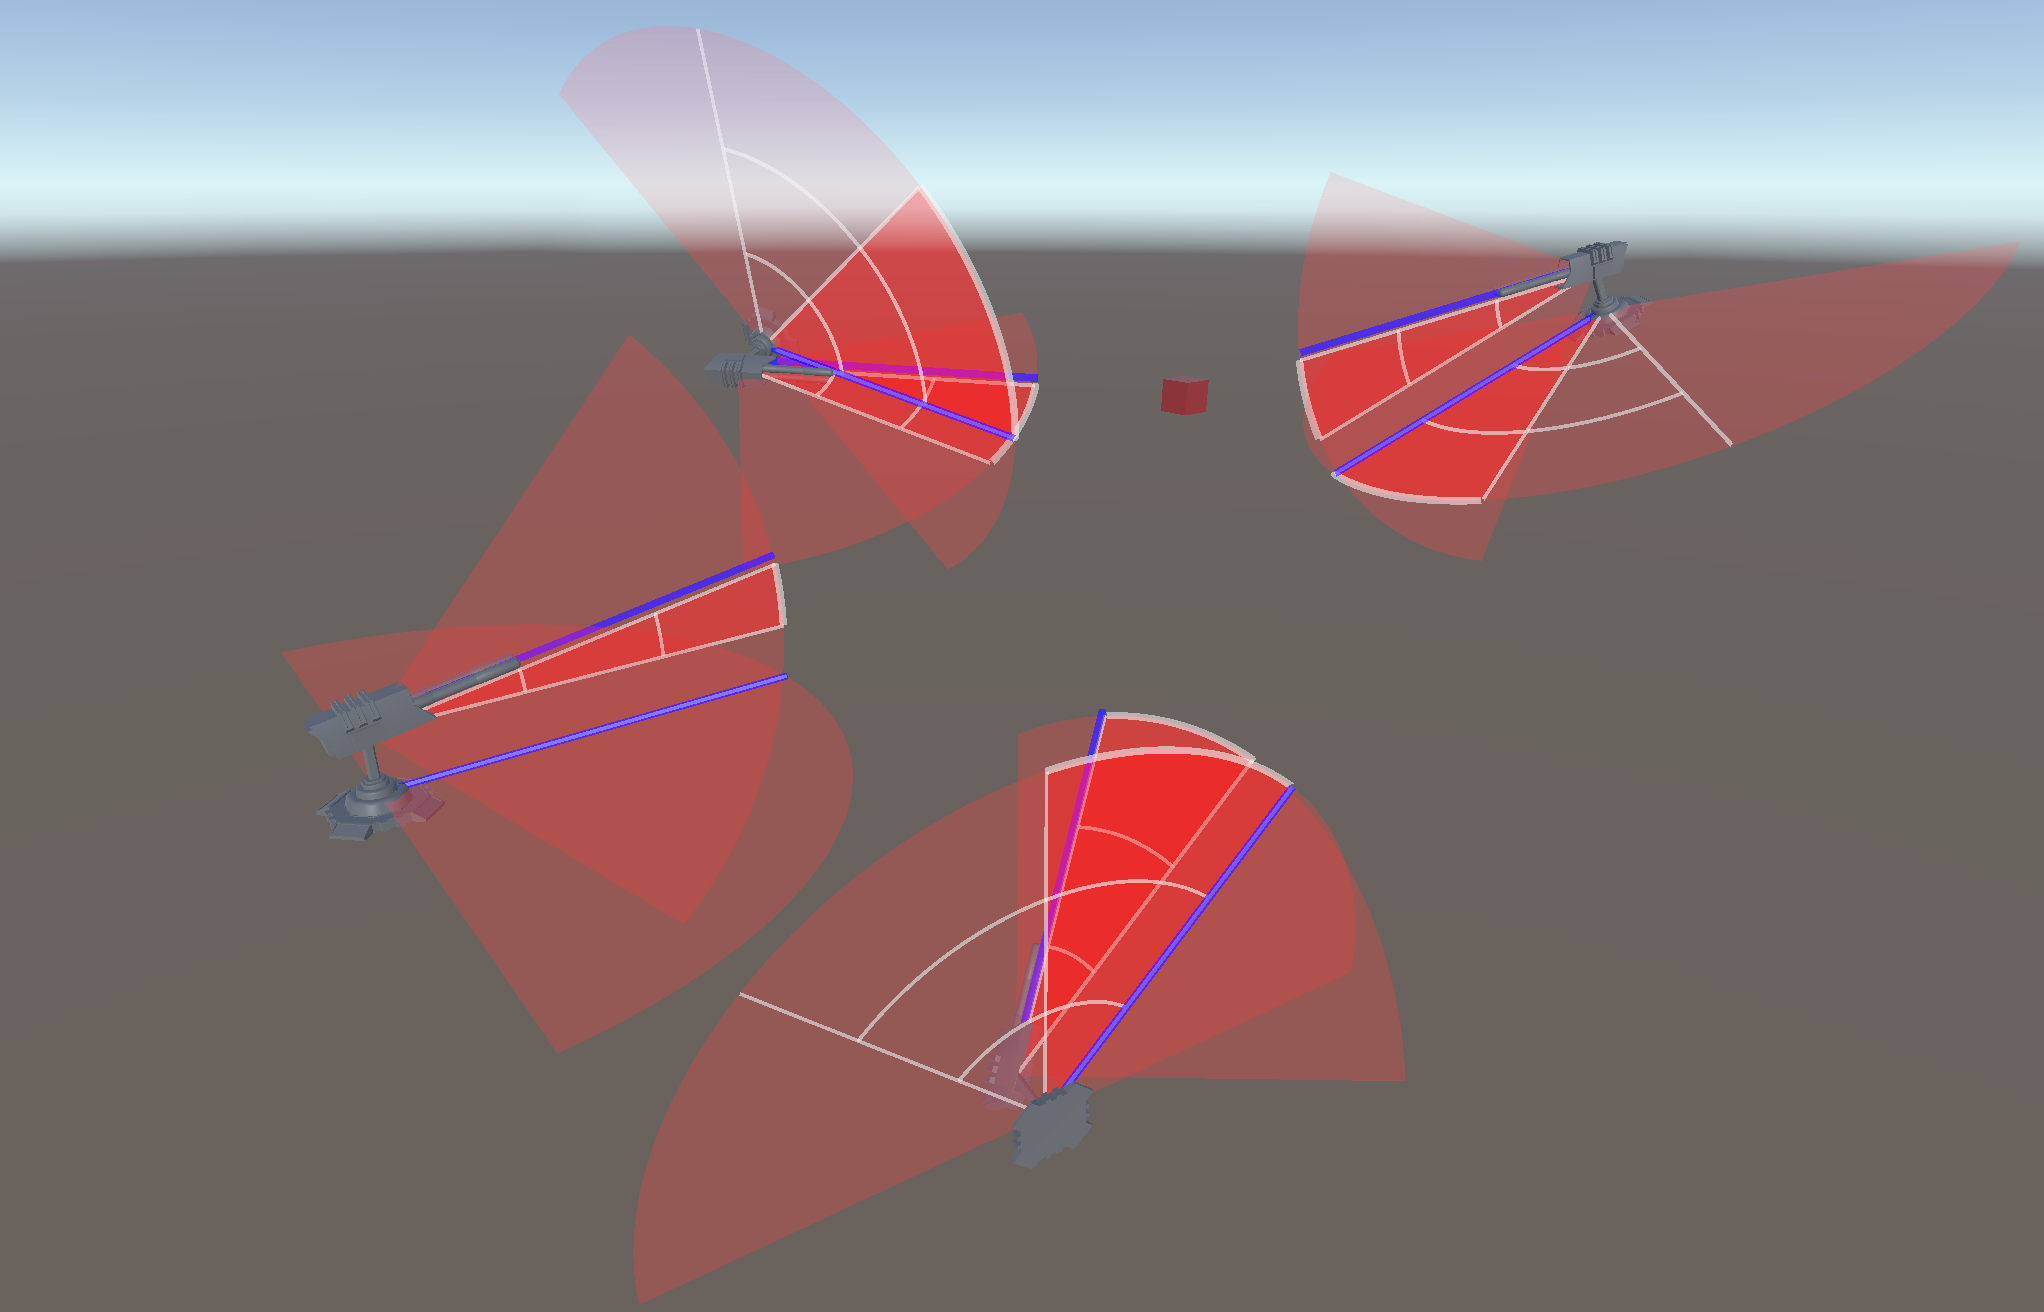
Approach 2: the jointed turret
This version is built from any number of joint components instead of a fixed base, neck and top. Turrets can be positioned anywhere and still focus on a common target, even in complex configurations.
- One axis per joint. Each joint projects the target onto its own plane of rotation and turns towards it at a set rate, so a chain of joints aims together without knowing about each other.
- Limits on the rotation itself. The angle around the joint's axis is pulled out of its quaternion, clamped to the joint's range and rebuilt. A record of the previous angle stops it flipping when it crosses 180 degrees.
- The long way round. When a limit blocks the short way to the target, the joint turns the other way instead.
- Visual limits. In the editor, each joint draws its allowed range as an arc, along with its aim direction.
Firing
A controller fires once the barrel is within a set number of degrees of the target, alternating between the left and right barrel on a cooldown. Bullets come from a pool created up front, rather than being spawned each shot.